Often, the fault sign of the washing machine relates to the malfunction of one of the components. You can fix it by replacing the defective component of the appliance. You won’t even go to the service center.
In some cases, the error may not be shown due to malfunction of some component of the Bosch washing machine. But the failure and error code appear in a special mode (service test). It is enabled by a combination of the appliance control buttons. An ordinary user won’t get it.
The first question that arises when an error is indicated relates to electricity. You should check whether the problem is electrical in origin. It might be a programmer or other components, such as a heating element or a drain pump. Also, the fault might have hydraulic character, such as a water leak.
Service test
Electronic washing machines can be started in the self-test (service test) mode. This way, you can check the complete set of machine functions. This mode is not accessible to the user. But it can be started by pressing a combination of keys depending on the washing machine model. The order of the self-test depends on the model.
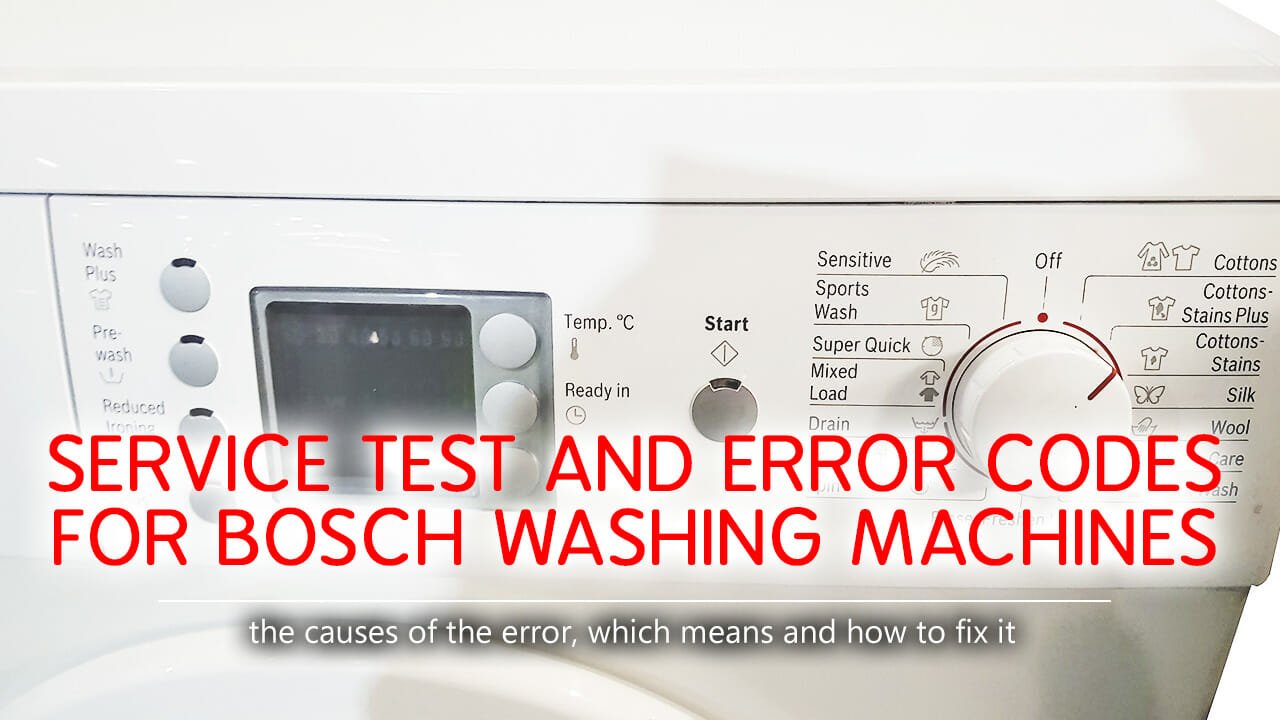
Control panel of Bosch Maxx 5 series washing machines is equipped with rotary knobs. Using it, you can select the washing program. It might be a preliminary, intensive, delicate, hand wash wool, etc. Also, there are buttons for selecting extra functions “Easy to iron”, “More water”, “Quick wash”.
Panels of Bosch Maxx 5-6-7 series washing machines can be both with a display and LEDs.
Service test launch
- Close the door.
- Set the program selector knob to 0 position («OFF»). Wait for two seconds.
- Turn the program selector knob clockwise to 8 position.
Wait until the indicator of the Start / Pause button starts flashing (it will take two seconds).
- Press the “spin-off” button (in machines with a display it is located in other place).
Wait until the indicator of the Start / Pause button starts flashing (it will take two seconds)
- Turn the program selector knob to 9 position
- Remove the finger from the “spin speed” button
- The fault of the “Last program” will be displayed
- The last fault will be shown
- The last fault is erased in the memory
- Test program selection
- Choose the test program using the program selector knob. Position 1 means “Position 1”, “Position 2”, etc. The explanation of the program selector positions are noted in the table below
1 – Not used
2 – Not used
3 – Drive motor
4 – Drain pump
5 – Heating element
6 – Water inlet valve (hot water)
7 – Water inlet valve (main and pre-wash)
8 – Water filling valve (main washing)
9 – Water inlet valve (prewash)
10 – Test of sound signals
11 – FCW Automatic Test
12 – Automatic test for mechanics
13 – Automatic test is not for FNW mechanics
14 – “Quick” – automatic test
15 – “Quick” – automatic test
- Running the test program
- Press the Start / Pause button
- Exiting the test program
- Press the Start / Pause button (the Start / Pause indicator will flash)
- Turn the program selector knob
- Diagnostic Mode exit
- Set the program selector knob to 0 position (“OFF”)